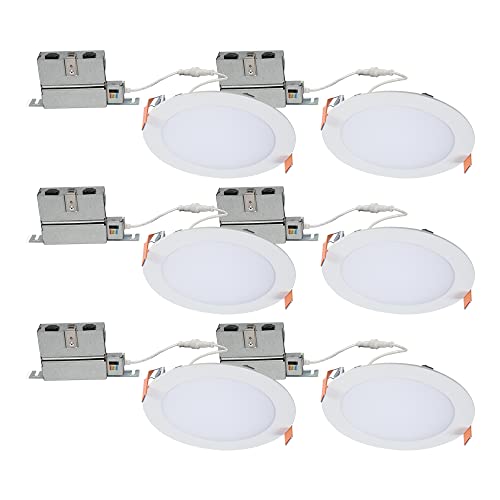


To space recessed lights evenly, divide your ceiling height in feet by two and use that figure as the gap between fixtures. An 8-foot ceiling suggests about 4 feet apart; a 10-foot ceiling about 5 feet. For the count, multiply the room's square footage by a target light level, then divide by each light's lumen output.
The quick spacing formula
The most reliable starting point is the ceiling-height rule: divide your ceiling height in feet by two, and use that number as the spacing between fixtures.
- 8-foot ceiling: about 4 feet apart
- 9-foot ceiling: about 4.5 feet apart
- 10-foot ceiling: about 5 feet apart
Distance from the walls
Set the first row of lights roughly 1.5 to 3 feet from the wall. A good default is half your field-spacing distance. Too close and you get hot spots and glare on the wall; too far and the room's edges fall into shadow. If you plan to light art or a bookshelf, pull those fixtures closer to the wall, around 1.5 feet, so the beam grazes the surface.
How many can lights you need
There are two practical ways to land on a number.
Method 1: the grid method
Sketch the ceiling, subtract the perimeter setback, and lay out rows and columns at your spacing distance. For a 12 by 12 foot room at 4-foot spacing you land on a 3 by 3 grid, though many rooms look balanced with fewer fixtures depending on brightness goals.
Method 2: the lumen method
This ties fixture count to actual brightness. Use these rough targets:
- Living room or bedroom: 10 to 20 lumens per square foot
- Kitchen, general: 30 to 40 lumens per square foot
- Bathroom: 25 to 35 lumens per square foot
- Hallway: 5 to 10 lumens per square foot
Worked example, a 12 by 12 kitchen (144 square feet):
A 3 by 2 layout at 4-foot spacing fits a 12-foot room cleanly. If the kitchen has dark cabinets or you want brighter task light, round up and add under-cabinet lighting rather than cramming in more ceiling cans.
Adjust for the room, not just the math
A calculator gives you a baseline. Real rooms need judgment:
- Task zones. Center fixtures over where work happens, such as the sink, the range, or a reading chair, rather than snapping everything to a rigid grid.
- Wall color. Dark walls and floors absorb light, so lean toward the higher end of the lumen range. Light, reflective surfaces need less.
- Fixture size and beam angle. Smaller 4-inch lights throw a narrow pool and suit accents or tight spacing; 6-inch lights cover more area for general lighting. A wide beam (around 60 degrees) blends better for ambient light; a narrow beam concentrates output for accents.
- Ceiling height. Higher ceilings spread the beam over more floor, so intensity drops at the surface. Taller rooms often need more fixtures or higher-output ones.
Common spacing mistakes
- The runway effect. A single straight line of evenly spaced lights down the middle of a room looks like an airport. Use a grid or match placement to the room's function.
- Over-canning. More lights is not always better. Too many creates a flat, glary, commercial look and wastes energy. Layer in other sources instead.
- Ignoring dimmers. A dimmer lets one layout serve bright task moments and low ambient evenings. Pair LED downlights with a compatible dimmer to avoid flicker or buzz.
- Forgetting obstructions. Your ideal grid may collide with ceiling joists, HVAC ducts, or plumbing. Check the cavity before committing to positions.
A safety note
Recessed lighting is hardwired into your home's circuits. Before touching any wiring, turn off power at the breaker and confirm it is dead with a voltage tester. Cutting new ceiling holes, running cable, adding a circuit, or working near insulation (where you need IC-rated fixtures) is work best handled by a licensed electrician. This article is general information and not a substitute for professional electrical advice or local code requirements.
Bottom line
Start with the ceiling-height-divided-by-two rule for spacing, then confirm the count with the lumen method for your room type. Keep perimeter lights 1.5 to 3 feet off the walls, layer in task and accent lighting where needed, and put everything on a dimmer. The goal is even, glare-free light that suits how you actually use the room, not the maximum number of holes you can drill.