Low-Profile & Flush-Mount Ceiling Fans: Complete Guide
Comprehensive technical analysis of sizing, materials, installation requirements, and manufacturer standards for low-profile & flush-mount ceiling fans.

Recommended Products
See the full ranking →
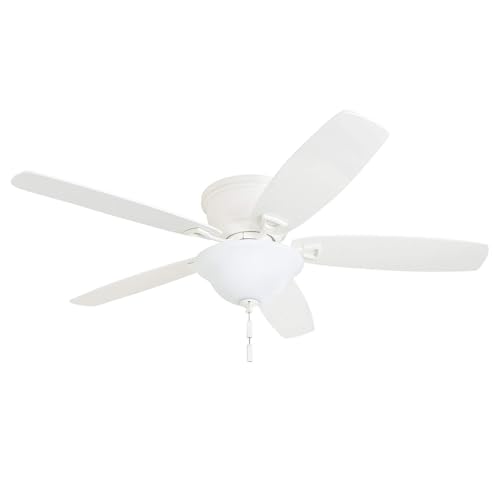

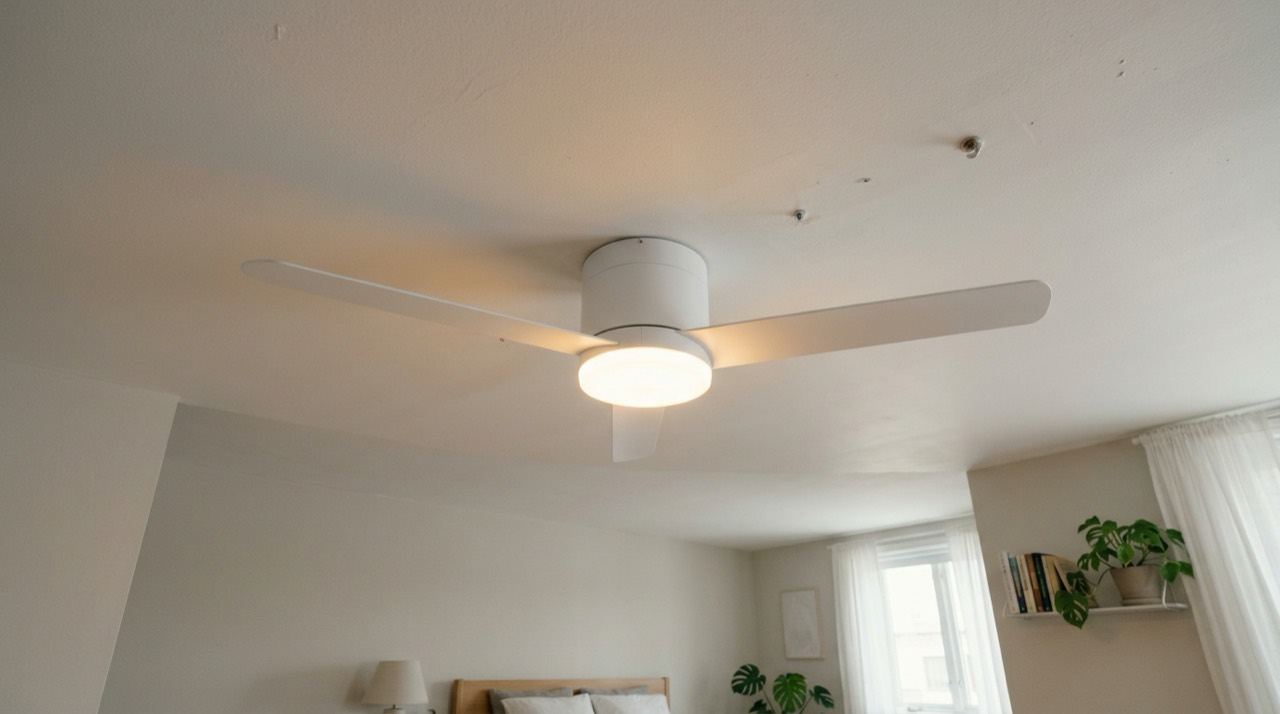
Standard ceiling fans hang from a downrod, a short metal pipe that drops the motor housing several inches below the ceiling so the blades can spin clear of the mounting bracket. That works fine in a room with 9 or 10-foot ceilings, but in a room with a standard 8-foot ceiling, or under a low sloped section of a converted attic or basement, a downrod fan can leave the blades close enough to head height to feel unsafe. A low-profile fan, often called a hugger fan or flush-mount fan, solves this by bolting the motor almost directly to the ceiling mount, eliminating the downrod (or using a very short one) and pulling the whole assembly up by several inches.
The tradeoff is airflow. Ceiling fans move air most efficiently when the blades sit some distance below a flat ceiling, since a ceiling surface right above the blades disrupts the airflow pattern and can reduce circulation compared with the same fan on a downrod. Hugger fans give some of that efficiency back to gain headroom, so sizing and blade design matter more here than on a standard downrod fan.
Reach for a low-profile fan when your finished ceiling height is 8 feet or lower, when you're mounting a fan on a sloped ceiling with an included slope adapter, or when local code and your own comfort require more headroom than a downrod allows. Don't default to a hugger fan out of habit if your ceiling is 9 feet or higher; a short downrod (4 to 6 inches) on a standard fan will move noticeably more air for the same blade span and motor, and most manufacturers, including Hunter and Casablanca, sell the same fan body in both hugger and downrod-ready configurations.
Blade span still needs to match square footage the same way it does for any ceiling fan:
- Rooms up to about 75 square feet: 29 to 36-inch blade span
- Rooms 76 to 144 square feet: 36 to 42-inch span
- Rooms 144 to 225 square feet: 44-inch span
- Rooms 225 to 400 square feet: 50 to 54-inch span
- Great rooms and open-plan living areas over 400 square feet: 56 inches or larger, sometimes with two fans
Building codes and manufacturer instructions generally call for at least 7 feet of clearance from the floor to the lowest point of the fan blades, and most installers recommend leaving at least 10 to 12 inches between the ceiling and the blades for reasonable airflow, and 18 to 24 inches between blade tips and any wall or sloped ceiling. A true hugger fan can bring the blade-to-ceiling gap down to as little as 4 to 6 inches, which is what makes it usable under an 8-foot ceiling while still clearing the 7-foot floor minimum. Always check the specific fan's spec sheet for its mounted height, since this varies by model even within the "low-profile" category.
Hugger fans are no longer limited to plain builder-grade looks. You'll find them with integrated dimmable LED light kits (check the listed lumens and Kelvin color temperature, since 2700K to 3000K reads warm and residential while 4000K-plus reads cooler and more commercial), reversible blades for a two-tone finish, and DC motors that run quieter and more efficiently than older AC motors. Several current models add smart control through a wall app, remote, or integration with a smart-home hub, and some pair well with smart switches like Lutron Caseta for scheduling and voice control. If the room gets humid or the fan is in a covered outdoor space, confirm the fan carries a damp or wet UL rating; a fan rated for dry indoor use only should never go on a porch or near a shower.
Swapping an existing fan for another one on the same electrical box and switch is usually a straightforward DIY project for someone comfortable working with basic tools. Before touching any wiring, always turn off power to the circuit at the breaker, and confirm the ceiling box is fan-rated and securely anchored to a joist or approved brace, since a standard light-fixture box is not built to support the weight and vibration of a spinning fan. If you're adding a new switch, wiring a new circuit, running a separate fan/light switch loop, or the existing box or wiring looks outdated or is unmarked, stop and call a licensed electrician. The National Electrical Code and local permit requirements exist specifically to prevent fire and shock hazards from improperly supported or wired ceiling fixtures, and a licensed electrician can also confirm the circuit has enough capacity for the fan and light combined.
If your ceiling is 8 feet or under, start with a hugger or flush-mount fan sized to the room's square footage and prioritize CFM over blade span alone. If you also want built-in lighting, check the light kit's lumen output against the room's general lighting needs rather than assuming any included light will be enough on its own. And if the fan is going anywhere near moisture, an outdoor patio, or a room with a sloped ceiling, confirm the damp/wet rating and slope-mount compatibility before you buy, not after it's on the wall in a box.
Go Deeper
Detailed companion guides for low-profile & flush-mount ceiling fans.
Minimum Ceiling Height for a Ceiling Fan: Clearance Rules
The minimum ceiling height for a ceiling fan explained: keep blades 7 feet above the floor, 18 inches from walls, and pick the right mount.
Flush Mount vs Downrod Ceiling Fan Mounting Explained
Flush mount vs downrod ceiling fan mounting explained: how each affects headroom and airflow, and which suits low, standard, and sloped ceilings.