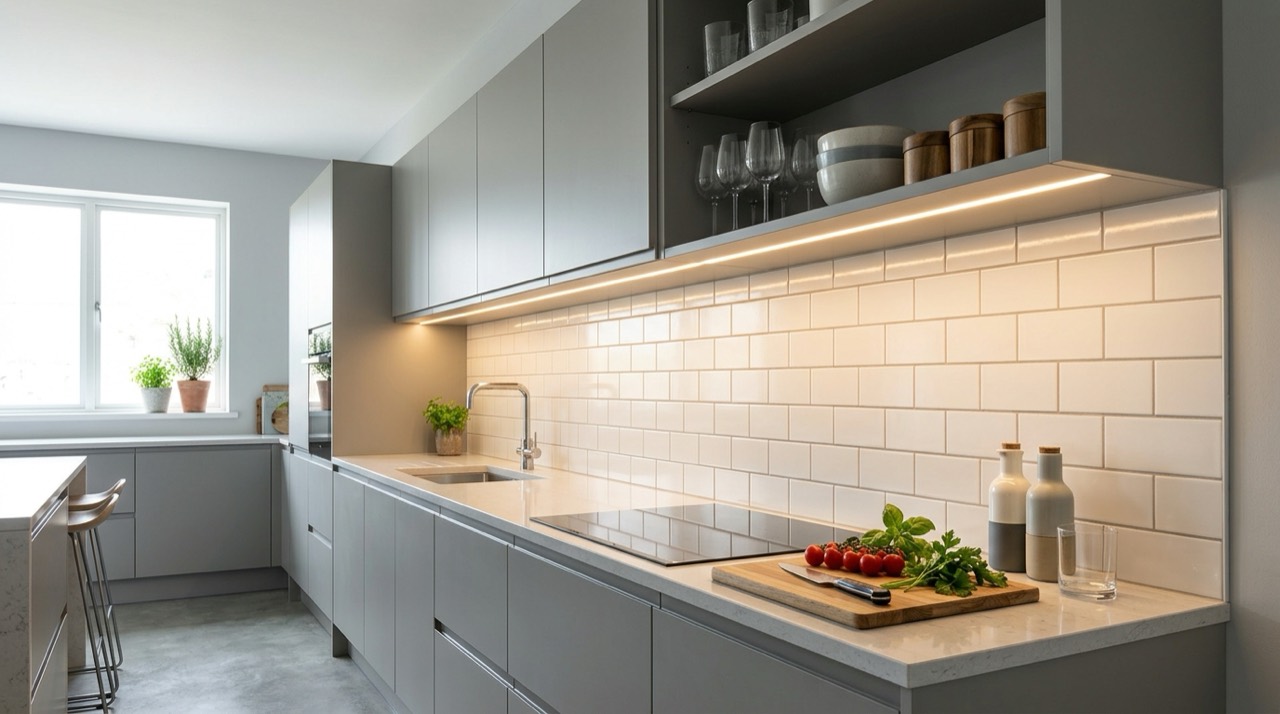


Choosing the Right Under-Cabinet Lighting for Your Kitchen
Countertops sit in their own shadow once overhead or recessed lighting is the only light source in a kitchen — your own head and shoulders block the glow exactly where you're chopping, reading a recipe, or checking whether that chicken is actually done. Under-cabinet lighting solves that by putting a light source close to the work surface, angled to spread evenly across the counter instead of down into your eyes.
The Three Main Types
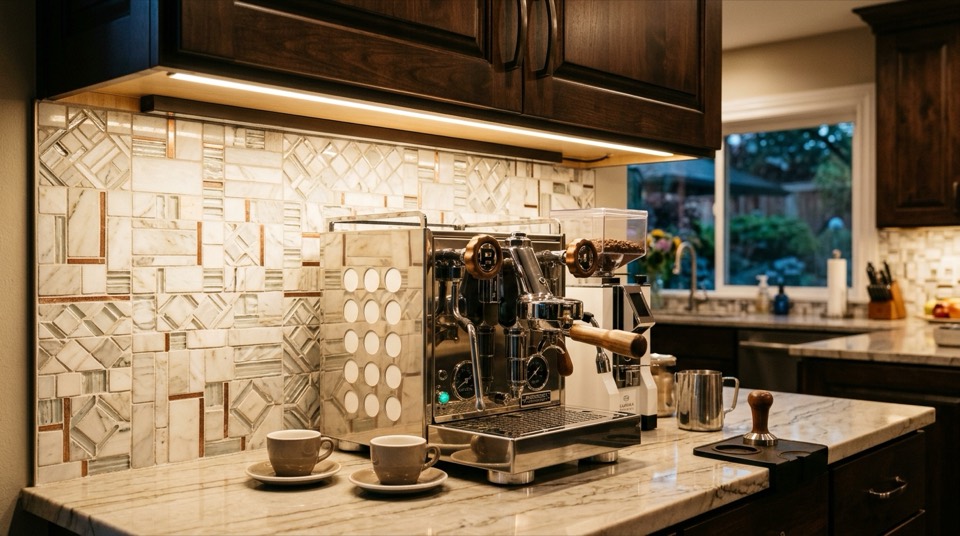
LED strip (tape) lights are a continuous ribbon of small LEDs on flexible adhesive backing. They produce the most even, shadow-free wash of light along a run of cabinets and are the closest thing to a "set and forget" option — cut to length, stick under the cabinet, and route the low-voltage cable to a driver.
LED puck lights are small, round fixtures installed individually, usually spaced 8 to 12 inches apart. They create pools of light rather than a continuous line, which gives a kitchen a warmer, more layered look, but you'll need more fixtures — and more visible fixture bodies — to avoid dark gaps between pucks.
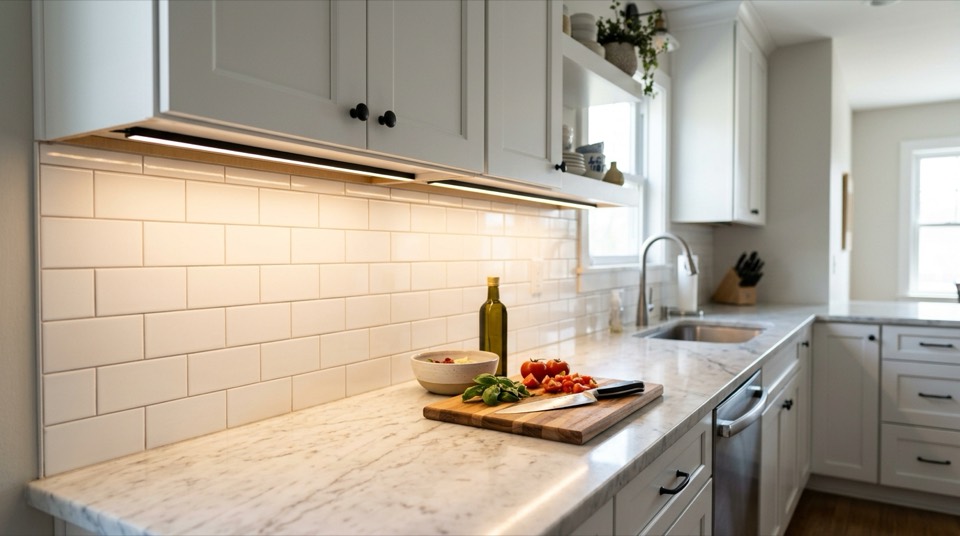
Linear bar fixtures are rigid, aluminum-bodied bars, often 12 to 24 inches long, linked end-to-end to cover a run of cabinets. They sit between strip lights and puck lights: less flexible than tape, but a cleaner, more finished look than exposed pucks, and often available in hardwired versions built for permanent installation.
Hardwired vs. Plug-In
Plug-in kits run on a cord to a nearby outlet, sometimes routed through a hole drilled in the cabinet bottom or hidden behind a backsplash gap. They're the faster, lower-commitment option and don't require opening up a wall, but a visible cord or power strip can undercut the clean look you're going for, and outlet placement doesn't always line up with where you want the lights to start.
Hardwired fixtures wire directly into your home's electrical system, usually tied to a wall switch or dimmer. They look more finished with zero visible cords, but "hardwired" means working inside your electrical panel or an existing switch box — this is not the place to improvise. See our full comparison of hardwired vs. plug-in under-cabinet lighting for a side-by-side breakdown of cost, difficulty, and when each approach makes sense.
Brightness and Color Temperature
For task lighting on a countertop, aim for roughly 200 to 450 lumens per foot of cabinet run — enough to read fine print or handle fine knife work clearly, without harsh glare bouncing off a glossy countertop. Manufacturer spec sheets list lumens per foot or total lumens per fixture; use that number rather than wattage, since LED wattage tells you almost nothing about actual brightness.
Color temperature, measured in Kelvin, matters just as much as brightness. Warm white (2700K to 3000K) matches most incandescent-style kitchen fixtures and reads as cozy. Neutral-to-cool white (3500K to 4000K) renders task areas more crisply and is a common choice for food-prep zones, but it can look mismatched if the rest of your kitchen lighting runs warmer. Whatever you choose, try to keep it consistent with your recessed lighting or kitchen island fixtures so the room doesn't feel like two different lighting schemes stitched together. Look for a Color Rendering Index (CRI) of 90 or higher — a low-CRI light source can make food look duller or off-color than it really is.
Dimming and Smart Control
Most quality LED under-cabinet fixtures are dimmable, but not automatically compatible with every dimmer switch — LED dimming requires a dimmer rated for LED loads, not an old incandescent-style dimmer, or you'll get flickering or a limited dimming range. Some fixtures pair with smart dimmer switches or smart plugs for app and voice control; if you're already using smart lighting elsewhere in the house, check that the under-cabinet system uses a compatible protocol before buying.
Installation and Safety
Whichever style you choose, plan the run before you buy: measure each cabinet section, decide where joints and connectors will fall, and figure out where the power source or switch box will be. For plug-in kits, this is a straightforward DIY afternoon project.
For hardwired installations, the job involves working with line-voltage wiring, junction boxes, and possibly a new switch — this is where the stakes go up. Always shut off power at the breaker before touching any wiring, verify it's off with a non-contact voltage tester, and if you're not confident reading your electrical panel or running new circuit wiring, hire a licensed electrician. Many jurisdictions also require a permit and inspection for new hardwired lighting circuits, so check your local code before starting. An ENERGY STAR rating is a reasonable proxy for efficiency and build quality if you want a quick way to filter options.
Getting the Look Right
The best-looking installations hide the light source and show only the light: strip lights tucked behind a lip or valance, pucks recessed slightly into the cabinet bottom, bar fixtures finished to match the cabinetry. A little extra planning on mounting and cord routing is what separates a kitchen that looks professionally finished from one that looks like a lighting kit got stuck under the cabinets.