

Layering Light in Any Room
Layered lighting means combining three distinct types of light - ambient, task, and accent - instead of relying on one fixture to do everything. Each layer has a different job, and putting them on separate switches or dimmers is what lets a room adapt from bright and functional to dim and relaxed without changing a single bulb.
1. Start With Ambient Light
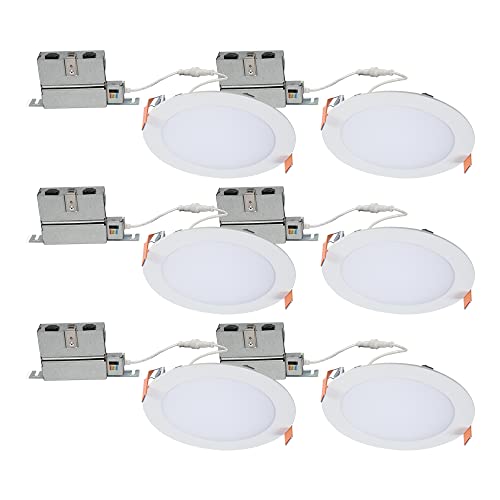
Ambient (or general) light fills the room evenly - a ceiling fixture, recessed cans, or a floor lamp bounced off the ceiling. This is the layer that determines whether a room feels bright and open or dim and cozy at baseline, and it's worth putting on a dimmer from the start. In a living room or bedroom, aim for roughly 1,500-3,000 lumens combined; kitchens need considerably more, often 4,000-8,000 lumens, since food prep calls for higher brightness than lounging.
2. Add Task Light Where Work Happens
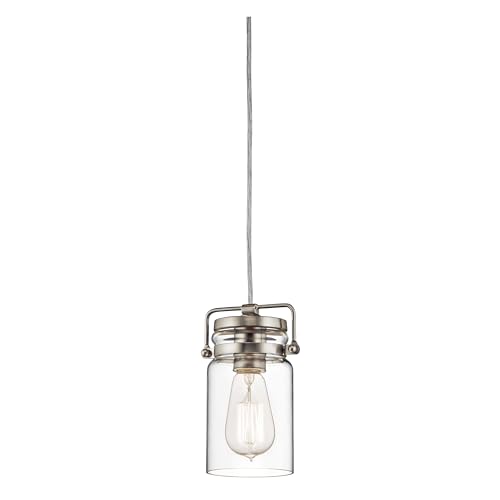
Task lighting is aimed, not general - a pendant or under-cabinet strip over a kitchen counter, a desk lamp in a home office, a reading lamp beside a chair, or a vanity light beside a bathroom mirror. The test for task lighting is simple: stand where the activity happens and check whether your own body casts a shadow across the work surface. If it does, the ambient layer alone isn't enough, and a dedicated task fixture is missing.
3. Finish With Accent Light
Accent lighting is the layer most rooms skip, and it's usually the one that makes the biggest visual difference for the least electrical work. LED strips behind a TV or under cabinets, picture lights over art, or directional spots on a bookcase add depth without adding much total brightness - 200-400 lumens per accent fixture is typically enough, since the goal is to draw the eye, not compete with the ambient layer.
Put Each Layer on Its Own Control
The real payoff of layering only shows up when each layer can be adjusted independently. A dimmer on the ambient ceiling fixture, a smart bulb or two on the accent strip, and a simple on/off task lamp is a common, inexpensive setup. Smart switches like Lutron Caseta dim an existing hardwired fixture without changing the bulb, while smart bulbs like Philips Hue add dimming and color to any lamp already in the room - no rewiring required for either approach at the bulb level.
How This Looks Room by Room
- Living room: ceiling fixture or floor lamps (ambient) plus a reading lamp (task) plus an LED strip or picture light (accent).
- Kitchen: overhead fixture (ambient) plus under-cabinet lighting over counters (task) plus toe-kick or open-shelf lighting (accent).
- Bedroom: ceiling fixture or plug-in sconces (ambient) plus bedside lamps (task) plus a lit headboard or dresser lamp (accent).
- Dining room: a chandelier or linear fixture centered over the table serves as both ambient and task light, since dining is a fixed, focused activity.
- Hallway: ambient-only is usually enough - small, evenly spaced ceiling or wall fixtures.
- Home office: overhead ambient light plus a desk lamp aimed at the work surface (task) is the minimum; add accent shelf lighting if the space doubles as a display area.
A Safety Note
Adding dimmers, new switches, or hardwired fixtures means working with live electrical wiring. Turn off power at the breaker before starting any of it, and bring in a licensed electrician for new circuits or anything beyond a straightforward switch or fixture swap.
Once the three layers are in place, room-specific choices like fixture style and finish are much easier to make - see our living room lighting ideas guide for a full room-by-room shopping list.


