
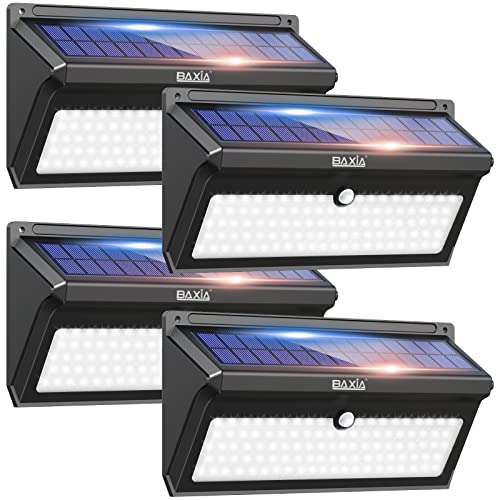


To adjust motion sensor light settings, find the small dials or switches on the fixture or sensor head, usually labeled TIME, LUX (sometimes DUSK or DAY/NIGHT), and SENSITIVITY or RANGE. TIME sets how long the light stays on, LUX controls day versus night triggering, and SENSITIVITY fine-tunes detection distance. Test after each change.
Find the controls first
Most motion-activated flood and security lights hide their controls in one of three places:
- On the sensor head itself, often under a small cover you rotate or slide.
- On the back or underside of the fixture body.
- Inside a companion app or wall switch for smart or hardwired models.
Safety note
If your light is hardwired and you need to open the housing, turn off power at the breaker first and confirm it is dead. For any new circuit, junction-box work, or wiring you are unsure about, hire a licensed electrician. Battery and plug-in units are safer to adjust, but this site offers general information only, not a substitute for a professional.
The TIME dial: how long the light stays on
The TIME (or DELAY) setting controls how long the light stays on after it stops detecting motion. It usually ranges from a few seconds up to about 10 or 20 minutes.
- Turn it down for a driveway or path where you only need a brief burst.
- Turn it up for a patio or work area where you want steady light while you are active.
The LUX dial: day versus night triggering
LUX (also labeled DUSK, DARK, or with sun and moon icons) tells the light how dark it must be before motion will turn it on.
- Set it toward the moon/dark icon so the light only activates at night.
- Set it toward the sun/bright icon to make the light respond even in daylight, which is useful mainly for testing.
The SENSITIVITY or RANGE dial: detection distance
This dial adjusts how far and how easily the sensor detects movement.
- Turn it up to catch motion farther away or to detect smaller movements.
- Turn it down if the light triggers too often from distant cars, neighbors, or the street.
Aim the sensor head correctly
Adjusting dials only goes so far if the sensor points the wrong way. Most heads pivot up, down, and side to side.
- Aim it to cover the path people actually walk, not the open sky or a blank wall.
- Angle it slightly downward so it watches your yard, not the neighbor's driveway.
- Sensors detect motion best when someone moves across the field of view rather than straight toward it, so angle the head to catch crossing movement at entry points.
Dial in the coverage with a walk test
Once the basics are set, use TEST mode (or a short time setting) and walk the area:
Fix common motion-light problems
- Light won't turn on at night: LUX set too dark, sensitivity too low, sensor aimed wrong, or the wall switch was flicked off and on into a permanent on or off mode.
- Light stays on constantly: heat sources (a nearby HVAC vent, sunlit metal), moving branches, or sensitivity set too high. Re-aim away from heat and moving objects.
- False triggers from the street: lower sensitivity, aim the head downward and inward, and use any included side shields or tape a partial blinder over the edge of the lens.
- Turns off while you're still there: increase the TIME setting, since the sensor only resets the timer when it sees fresh motion.
Reset to a known state
If the settings feel hopelessly off, set TIME to minimum, LUX to full dark, and SENSITIVITY to the middle, then adjust one dial at a time. Changing everything at once makes it impossible to tell which control fixed the problem. Give the sensor a minute to stabilize after each change before you test again.