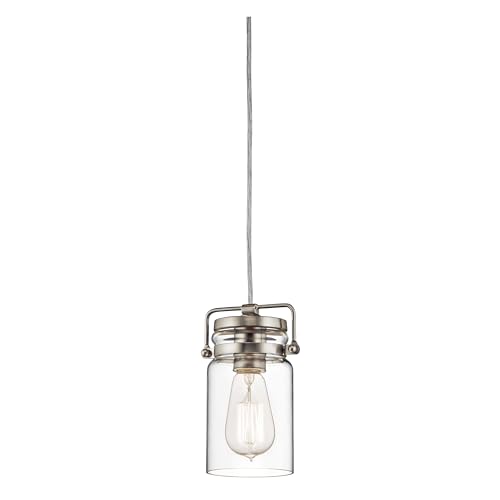

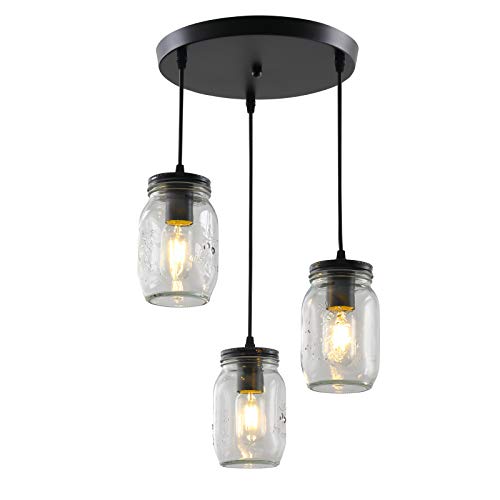


Hang pendant lights so the bottom of each fixture sits about 30 to 36 inches above the kitchen island countertop. That range clears sightlines across the island, keeps light on the work surface, and suits standard 8-foot ceilings. Taller ceilings and larger fixtures may push the height slightly higher.
The standard height, explained
The 30-to-36-inch rule - measured from the countertop to the bottom of the pendant - is the reliable starting point for most kitchens. It balances three things:
- Task light on the counter where you prep and serve
- Clear sightlines so people across the island can see each other
- Head clearance so no one walks into a fixture at the counter's edge
Adjust for ceiling height
The base rule assumes an 8-foot ceiling. For higher ceilings, a common approach is to add roughly 3 inches of pendant drop for each additional foot of ceiling above 8 feet - but never so far that the fixtures fall into sightlines or hang too high to light the counter well. On very tall ceilings, longer rods or chains keep the pendants visually connected to the island rather than floating near the ceiling.
Adjust for the people who use it
Rules are starting points, not laws. If the cooks in your home are tall, nudge the pendants up an inch or two so no one ducks. If the island is mainly for task work and you want maximum light on the surface, the lower end of the range works well.
How many pendants, and how to space them
Height is only half the job - spacing decides whether the island looks balanced.
Sizing the number of fixtures
- Two pendants suit most islands, roughly 4 to 6 feet long.
- Three pendants suit longer islands, roughly 7 feet and up.
- A single large fixture or a linear pendant can cover a medium island on its own.
Spacing the pendants
- Center the group on the island's length, not on the room.
- Keep pendants at least 6 inches - ideally more - from the island's ends so light doesn't spill off the edge.
- For even spacing with multiples, divide the island length into equal segments and center a pendant in each.
- Leave a comfortable gap between fixtures - commonly around 24 to 30 inches between centers - so they read as a set, not a cluster.
Matching fixture size to the island
A pendant that's too small looks lost; one that's too big overwhelms. As a rough guide, the combined width of your pendants should be noticeably less than the island length, leaving breathing room at each end. For diameter, many designers keep each round pendant to roughly one-third of the island's depth or less, so it doesn't crowd the work zone.
Light quality matters as much as height
Getting the height right won't help if the light itself is wrong for a work surface.
- Brightness: islands are task zones, so aim for strong, even light. Pair pendants with recessed or under-cabinet lighting rather than relying on pendants alone.
- Color temperature: a neutral white in the 2700K-3000K range feels warm and inviting; some cooks prefer up to 3500K-4000K for crisper task light. Keep all kitchen sources at a consistent temperature.
- Color rendering: a higher CRI, ideally 90 or above, makes food and finishes look truer.
- Shades: open-bottom or clear-glass pendants throw more light down onto the counter; opaque shades give ambiance but less task light.
- Dimmers: a dimmer lets the island shift from bright prep light to a soft evening glow.
Common mistakes to avoid
- Hanging too high: pendants tucked near the ceiling stop lighting the counter and lose their design impact.
- Hanging too low: anything under about 30 inches blocks views and invites bumped heads.
- Centering on the room, not the island: the fixtures should align to the island itself.
- One dim pendant over a big island: underlighting a work surface is a frequent regret.
- Ignoring the switch layout: put island pendants on their own dimmer for flexibility.
Installation and safety
Swapping or hanging pendants over an island usually means working with a hardwired ceiling box.
- Turn off power at the breaker and confirm it's dead with a non-contact voltage tester before touching wiring.
- Make sure the electrical box is rated to support the fixture's weight.
- Measure and hang one pendant first, live with it for a day if you can, then set the rest to match.
Start at 30 to 36 inches above the counter, tune for your ceiling and the people in your kitchen, and get the spacing and light quality right. That combination is what makes island pendants both useful and good-looking.