

To layer kitchen lighting, combine three types on separate controls: ambient light for overall brightness, task light aimed at the counters, sink, and stove where you actually work, and accent light to highlight features or add evening warmth. Layering removes shadows on work surfaces and lets one kitchen serve cooking, dining, and relaxing.
Why Kitchens Need Layers
The kitchen is the hardest-working room in most homes, and it switches jobs constantly: prepping food, cooking, cleaning, homework, entertaining. A single ceiling fixture cannot serve all of that. It leaves your countertops in shadow because you stand between the light and the counter.
Layering solves this by splitting light into three roles: ambient, task, and accent.
Layer 1: Ambient Light
Ambient light is your general fill. It should light the room evenly so you can move around safely and see into cabinets.
Common ambient sources:
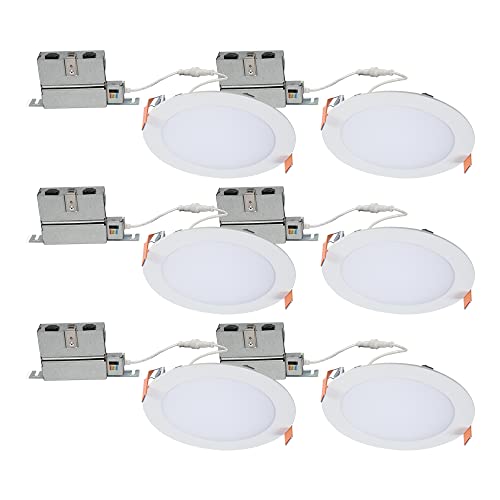
- Recessed can lights spread across the ceiling.
- A central flush or semi-flush fixture in smaller kitchens.
- A ceiling fan with a light kit in larger or warmer kitchens where air movement helps.
- Space recessed lights evenly; a rough starting point is one every 4 to 6 feet, adjusted for ceiling height and beam spread.
- A color temperature around 3000K to 4000K suits kitchens; 3000K feels warm and inviting, 4000K feels crisp and task-friendly. Pick one temperature and keep every fixture consistent so the room does not look mismatched.
- Put ambient light on a dimmer for evenings.
Layer 2: Task Light
Task light is the most important and most overlooked kitchen layer. You need light landing directly on work surfaces, not blocked by your own body.
Countertops
- Under-cabinet lighting is the single best kitchen upgrade. LED strips or linear bars mounted under the upper cabinets wash the counter with shadow-free light exactly where you chop and prep.
- Mount fixtures toward the front edge of the cabinet underside to push light onto the counter rather than the backsplash.
- Recessed downlights directly over the sink and range cover those zones. Many range hoods also include built-in task lighting.
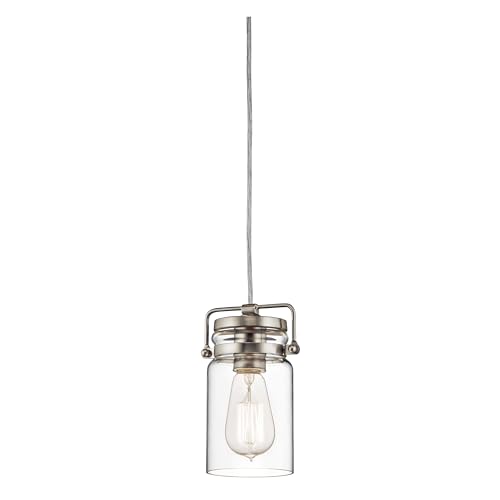
- Pendant lights over an island provide both task light and a design focal point. Hang them roughly 30 to 36 inches above the countertop, and space multiple pendants evenly across the island length.
Layer 3: Accent Light
Accent light adds depth and personality once the working light is off.
Options:
- In-cabinet lighting inside glass-front cabinets to show off dishware.
- Toe-kick lighting along the base of cabinets for a soft floating look and a gentle nightlight.
- Above-cabinet lighting that washes the ceiling for a warm evening glow.
Putting the Layers on Separate Controls
Layering only works if each layer switches independently:
- Ambient on a dimmer by the main entry.
- Under-cabinet task light on its own switch so you can light just the counters.
- Pendants on a separate dimmer.
- Accent lighting on its own switch or a smart plug.
Color Temperature and Consistency
Mixing color temperatures is the fastest way to make a kitchen look off. Decide on your look, then match every layer to it:
- Warm (2700K to 3000K): cozy, traditional, flattering.
- Neutral (3500K to 4000K): clean, modern, great for detailed tasks.
Common Kitchen Lighting Mistakes
- Only a center ceiling light. This guarantees shadowed counters.
- No under-cabinet lighting. The biggest missed opportunity in kitchen lighting.
- Pendants hung too high or too low. Too high loses the task benefit; too low blocks sightlines.
- Mismatched color temperatures. Makes finishes and cabinetry look inconsistent.
- Everything on one switch. Removes all the flexibility layering is meant to provide.
A Reliable Kitchen Recipe
Match all color temperatures, put each layer on its own control, and the same kitchen will handle bright meal prep and a relaxed dinner equally well.
Safety note
Under-cabinet, recessed, and hardwired pendant installations often tie into house wiring. Turn off power at the breaker and verify it is off before working. For new circuits, hardwiring, or anything you are unsure about, hire a licensed electrician. This is general guidance, not a substitute for professional electrical work.