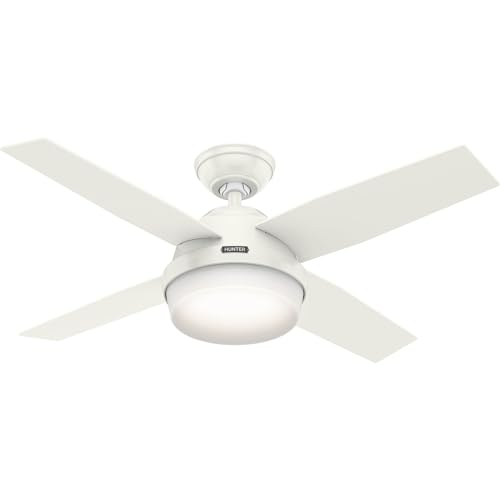


Retrofitting Remote Control onto a Pull-Chain Fan
Most ceiling fans running on pull chains can be upgraded to remote control without replacing the whole fixture. Universal remote-control retrofit kits are sold specifically for this: a compact receiver module wires into the fan at the canopy or motor housing, sitting between the existing house wiring and the fan's own wiring, and a paired handheld remote then takes over speed and light control.
What a Retrofit Kit Actually Does
The receiver intercepts the constant power coming from the wall switch and, based on the remote's signal, sends the fan motor only as much power as the selected speed calls for. Because the receiver sits inside the fan housing rather than replacing the wall switch, your existing pull chains generally still work as a manual backup — useful if the remote's battery dies or you misplace it.
Matching the Kit to Your Fan
Before buying a retrofit kit, check two things on your existing fixture:
- Combined amperage draw of the fan motor and any attached light kit. An undersized receiver asked to run a fan-plus-light combination it wasn't rated for can hum, flicker the lights, or fail early.
- Physical space inside the canopy or fan housing. Some retrofit receivers are small enough to tuck inside a standard canopy; others need more room, which matters on fans with a shallow mounting plate.
Installation Steps at a High Level
When to Call a Licensed Electrician Instead
If your home's wiring is old, ungrounded, aluminum, or otherwise unfamiliar, or if the existing wall switch setup doesn't match what the retrofit kit's instructions assume (for example, a 3-way switch arrangement), stop and bring in a licensed electrician. The same applies if you're not fully confident identifying which wires are line, load, neutral, and ground. A retrofit kit is a reasonably approachable weekend project for a straightforward single-switch fan circuit, but it's still working with your home's line voltage, and a mistake at the electrical box is not a place to guess.