


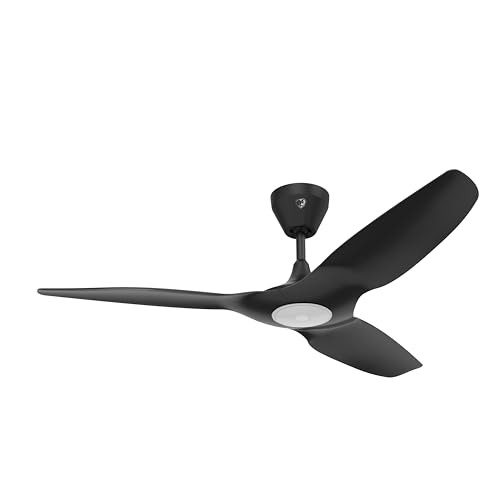


Adding or replacing a ceiling fan light kit is usually a simple wiring swap you can finish in under an hour: shut off power at the breaker, confirm your fan accepts a light kit, remove the old fitter or bottom cap, match the kit's wires by color, then secure the kit to the fan's switch housing.
First, confirm your fan is light-adaptable
Not every ceiling fan can take a light. Look at the bottom of the motor housing, the part called the switch housing. Fans that are "light adaptable" ship with a removable cap or plate that hides a set of pre-wired leads, usually a blue or black wire plus a white wire and a small plug connector. If you unscrew that cap and find those wires, your fan is ready for a kit.
If the bottom is sealed with no wires behind it, the fan was built as a fan-only model and cannot safely accept a light kit. In that case, replacing the whole fan with a fan-and-light model is the correct path, not forcing a kit onto it.
You also need a compatible fitter. Most modern fans and universal kits use a standard fitter, but always check that the new kit's mounting ring and screw spacing match your fan's switch housing.
Tools and parts
- A universal or brand-matched light kit rated for that fan
- Phillips and flat screwdrivers
- A non-contact voltage tester
- Wire nuts (usually included)
- A sturdy step ladder and, ideally, a helper to hold the glass
Safety first
Turn off the power at the breaker, not just the wall switch. A wall switch can leave the fixture energized through a switched-loop setup, so kill the circuit at the panel and verify with a non-contact voltage tester before you touch any wires. If any wiring looks scorched, uses old cloth insulation, or you are adding a new circuit rather than connecting to existing fan leads, stop and hire a licensed electrician. This article is general information, not a substitute for a licensed pro.
Step-by-step: replacing an existing light kit
Adding a kit to a fan that never had one
The process is the same once the cap is off, but pay attention to the pre-wired leads behind it. The fan's blue or striped wire carries the switched light circuit; the white is neutral. Connect the kit exactly as above. If your fan uses a single pull chain for both fan and light, the kit will typically add its own pull chain for the light.
One important control question is how the light will be switched. If you want the light and fan on separate wall switches, that requires a three-conductor feed running to the fan and is a wiring change best handled during installation or by an electrician. A pull-chain kit avoids that entirely and works with any existing single-switch feed.
Bulb and load notes
Universal kits list a maximum wattage and a bulb type. Do not exceed the rated wattage, and if the kit is designed for LED, do not force in incandescent bulbs that run hotter. Overheating a fitter is a real fire risk and shortens the life of the light circuit. If your kit is dimmable, use a bulb and wall dimmer that are both marked dimmable and LED-compatible, or you will get buzzing and flicker.
Common problems and fixes
- Light will not turn on: re-check the blue-to-light connection and the pull chain; a loose wire nut is the usual culprit.
- Flicker: usually a mismatched dimmer or a loose neutral.
- Kit wobbles or hums: the mounting screws are not seated evenly, or a wire is pinched against the motor.
When to call an electrician
Do the wiring yourself only if you are simply connecting a kit to existing fan leads. Bring in a licensed electrician if you need a new switch leg, the ceiling box is not fan-rated, the wiring is old or damaged, or anything is unclear. The cost is small next to the risk of a bad connection above your head.


