
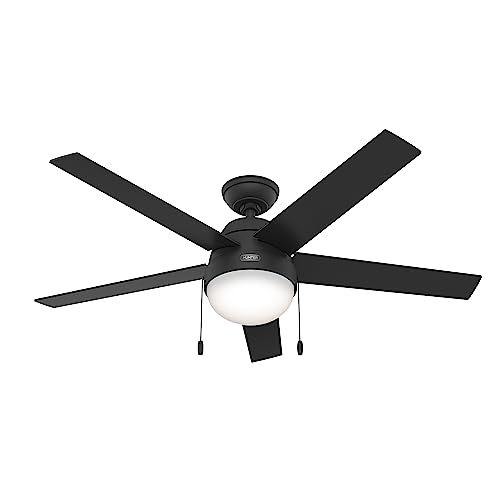


To program a ceiling fan remote, cut power at the breaker for about 30 seconds and restore it, then within the pairing window press and hold the remote's pair or learn button until the fan responds. Dip-switch remotes instead need matching switch positions in both the receiver and the handset before they will talk.
First, know which kind of remote you have
The pairing steps depend entirely on the type of remote your fan uses. Almost every kit falls into one of three groups:
- Dip-switch remotes - a small bank of tiny slide switches sits in both the handset battery compartment and the receiver hidden above the fan. Both banks must be set to the same pattern.
- Learning (self-pairing) remotes - no dip switches. The receiver "learns" the handset during a short window right after power is applied.
- Smart, Wi-Fi, or app remotes - these pair over Bluetooth or your home Wi-Fi through a phone app, sometimes alongside a physical handset for backup.
Programming a dip-switch remote
This older but still common style is the simplest to grasp:
If a fan in another room reacts to your remote, simply change both banks to a new matching code. That separates the two units so they stop interfering.
Programming a learning remote (the pairing window)
Most modern kits pair themselves once they are powered up:
Some receivers use a tiny recessed button reached with a paperclip. If yours has one, press it to put the receiver into pairing mode, then hold the handset button.
Programming a smart or app remote
- Install the maker's app and create the room or device entry.
- Put the receiver into pairing mode, usually by a power cycle or a short button press.
- Follow the app prompts to join Bluetooth or your 2.4 GHz Wi-Fi network. Most fan receivers do not support 5 GHz.
- Link voice assistants last, after the fan already works from the app.
When pairing will not take
Run through this checklist before assuming the receiver is bad:
- Weak batteries in the handset are the most common culprit. Swap in fresh ones.
- The pairing window closed. Power cycle and try again quickly.
- Dip switches not truly matched. Check the orientation of both banks side by side.
- Interrupted power to the receiver. A smart wall switch that cuts the line will stop an RF remote from pairing or working. The receiver needs constant power.
- Two fans sharing one code. Re-code one of them.
A plain safety note
Pairing sometimes means opening the canopy near line-voltage wiring. Turn off power at the breaker before you reach into the canopy, and if any wiring is loose, scorched, or unfamiliar, stop and hire a licensed electrician. This site offers general information only and is not a substitute for a licensed electrician.
After it is paired
Test each fan speed, the reverse function, and the light dimming so you know the whole handset works. If you use an app, save your preferred settings and name the device clearly. Keeping a spare set of batteries nearby means a dead handset never leaves you stuck reaching for a pull chain that a receiver-equipped fan may no longer have.
If you own several fans that use the same brand of remote, give each one its own code or its own device name in the app. Otherwise one handset may command two fans at once, or a neighbor's identical kit may reach into your home. On dip-switch models this is as simple as choosing a different switch pattern for each fan; on learning and smart remotes it is handled during pairing or in the app settings. A few minutes spent separating the codes now saves a lot of confusion later.


